ESD EX80

Front view of the complete ESD EX80 system

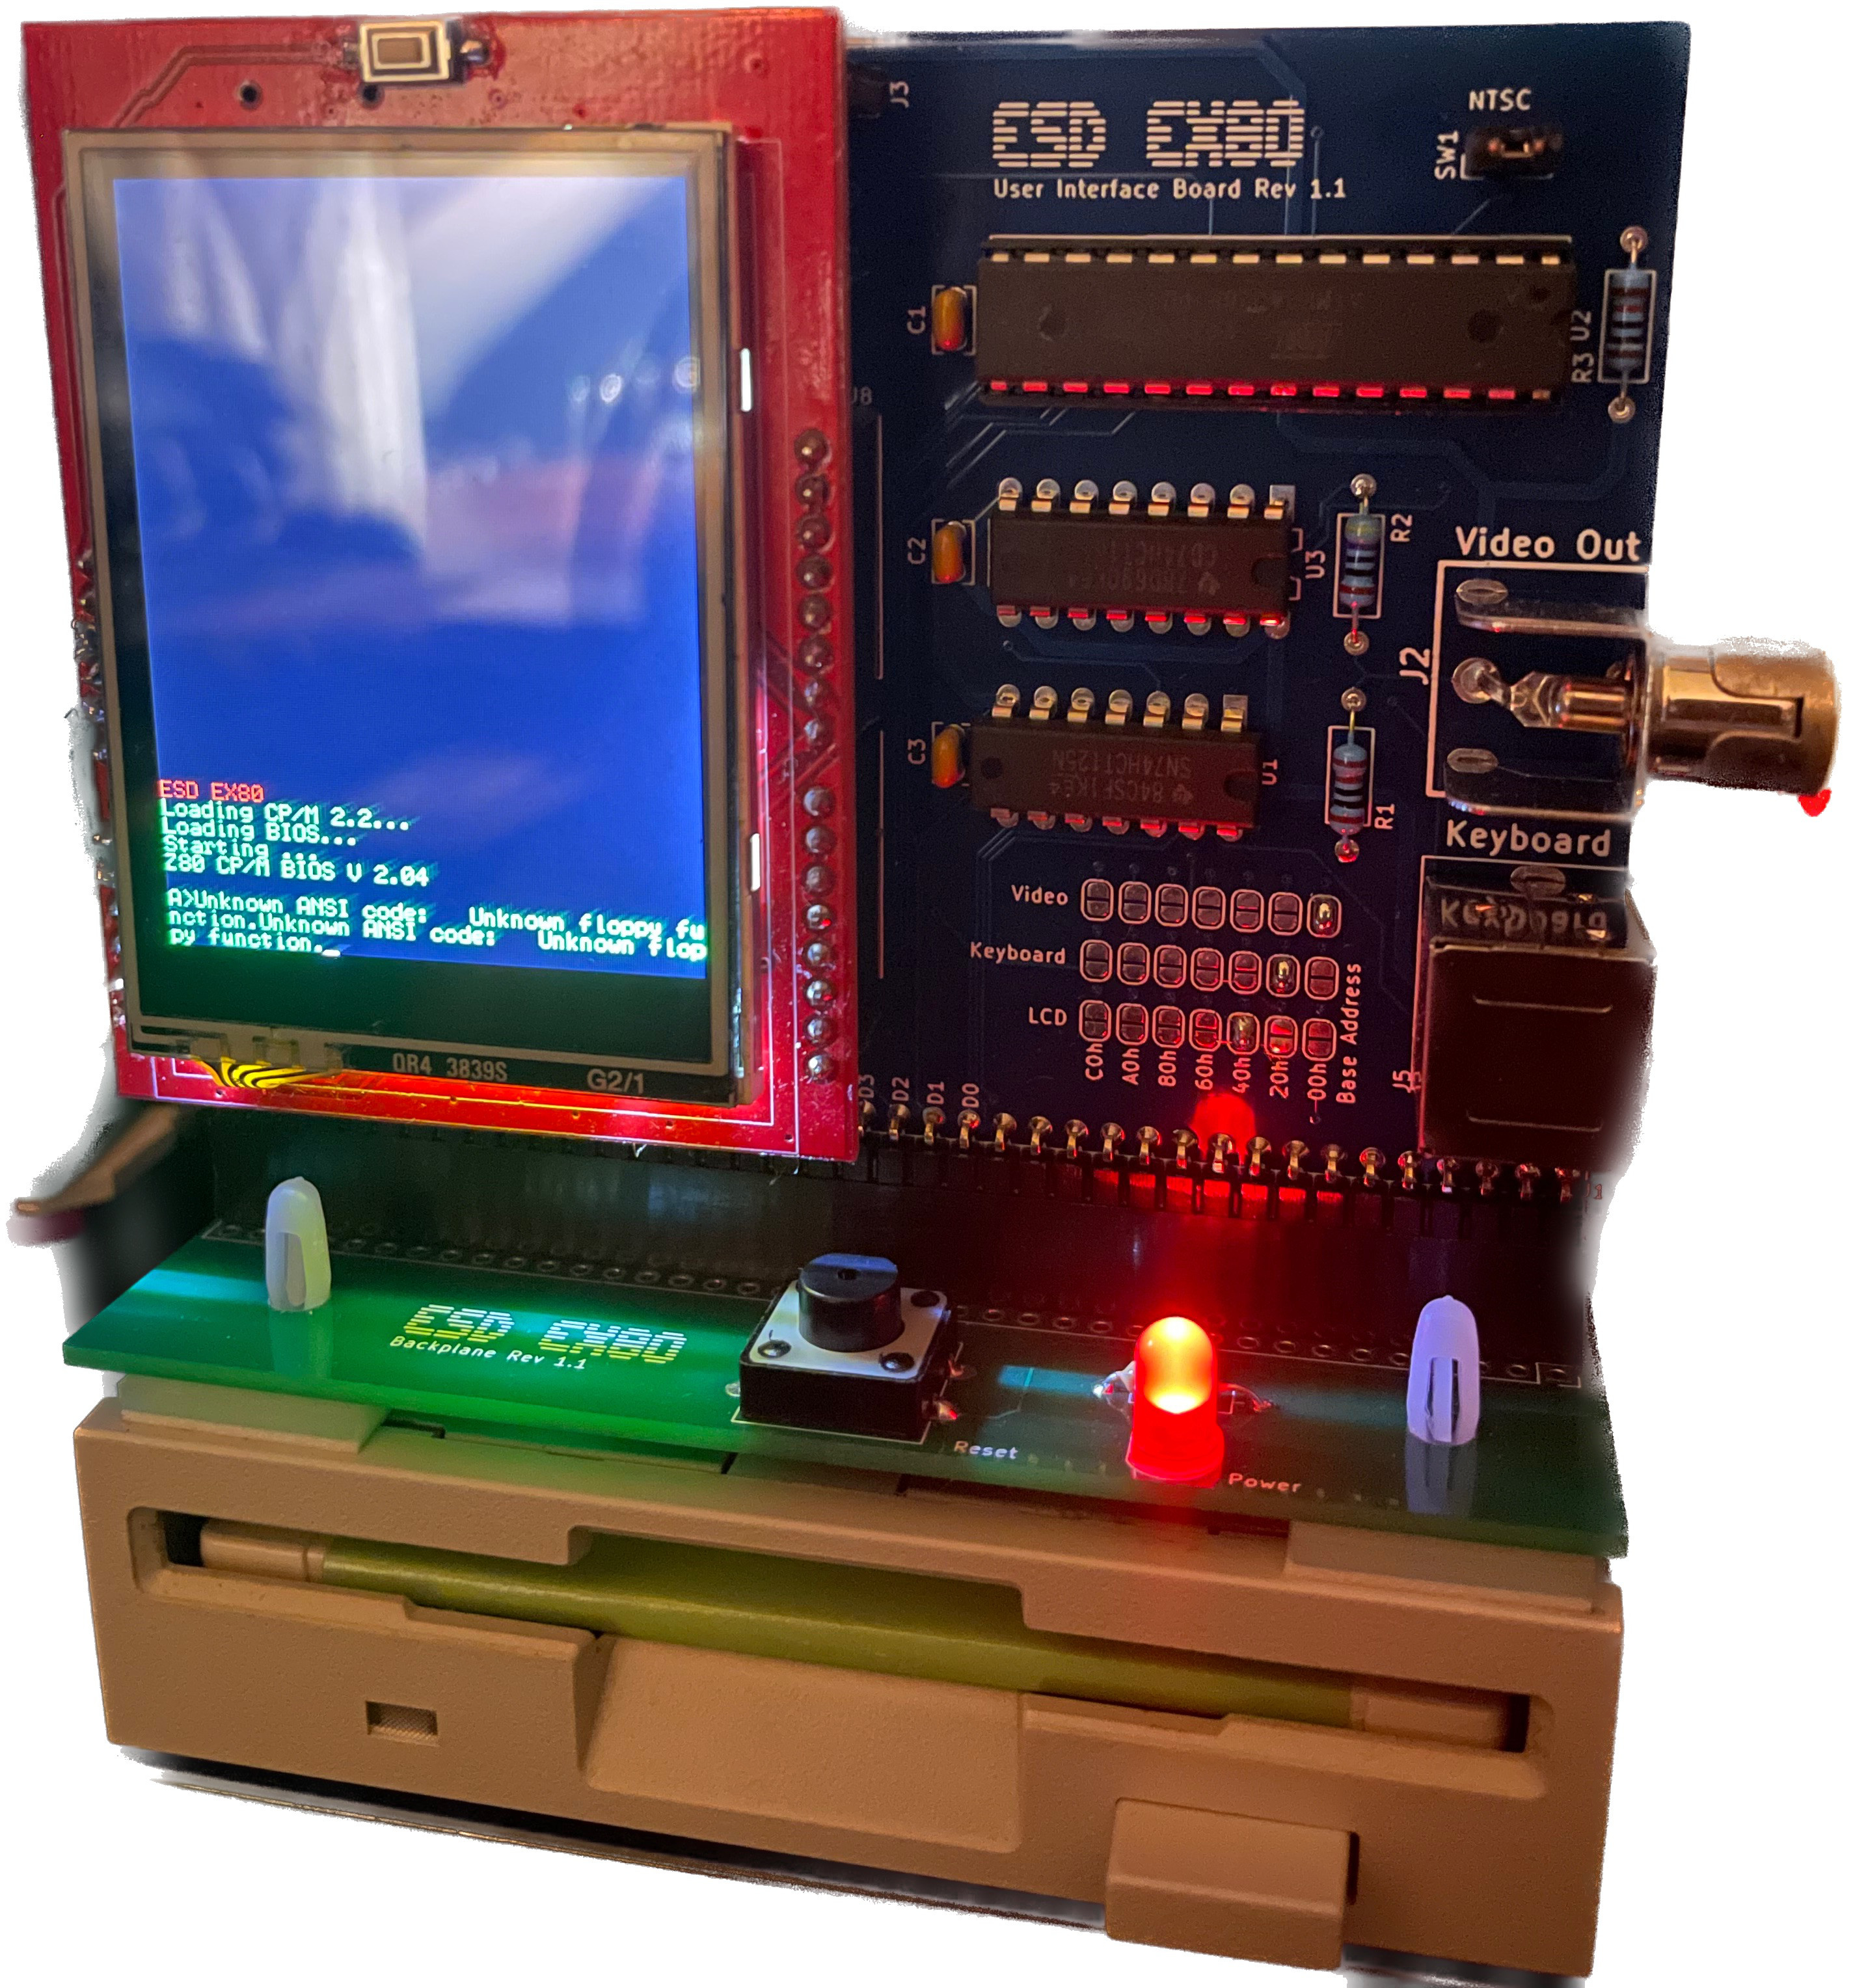
Some time has passed since my last update on my Z80 computer and a lot of things have changed. First, I summarize some specs from the past posts and will not go deeply into details here. You can find more details here: Z80 Single Board Computer, Z80 work in progress.

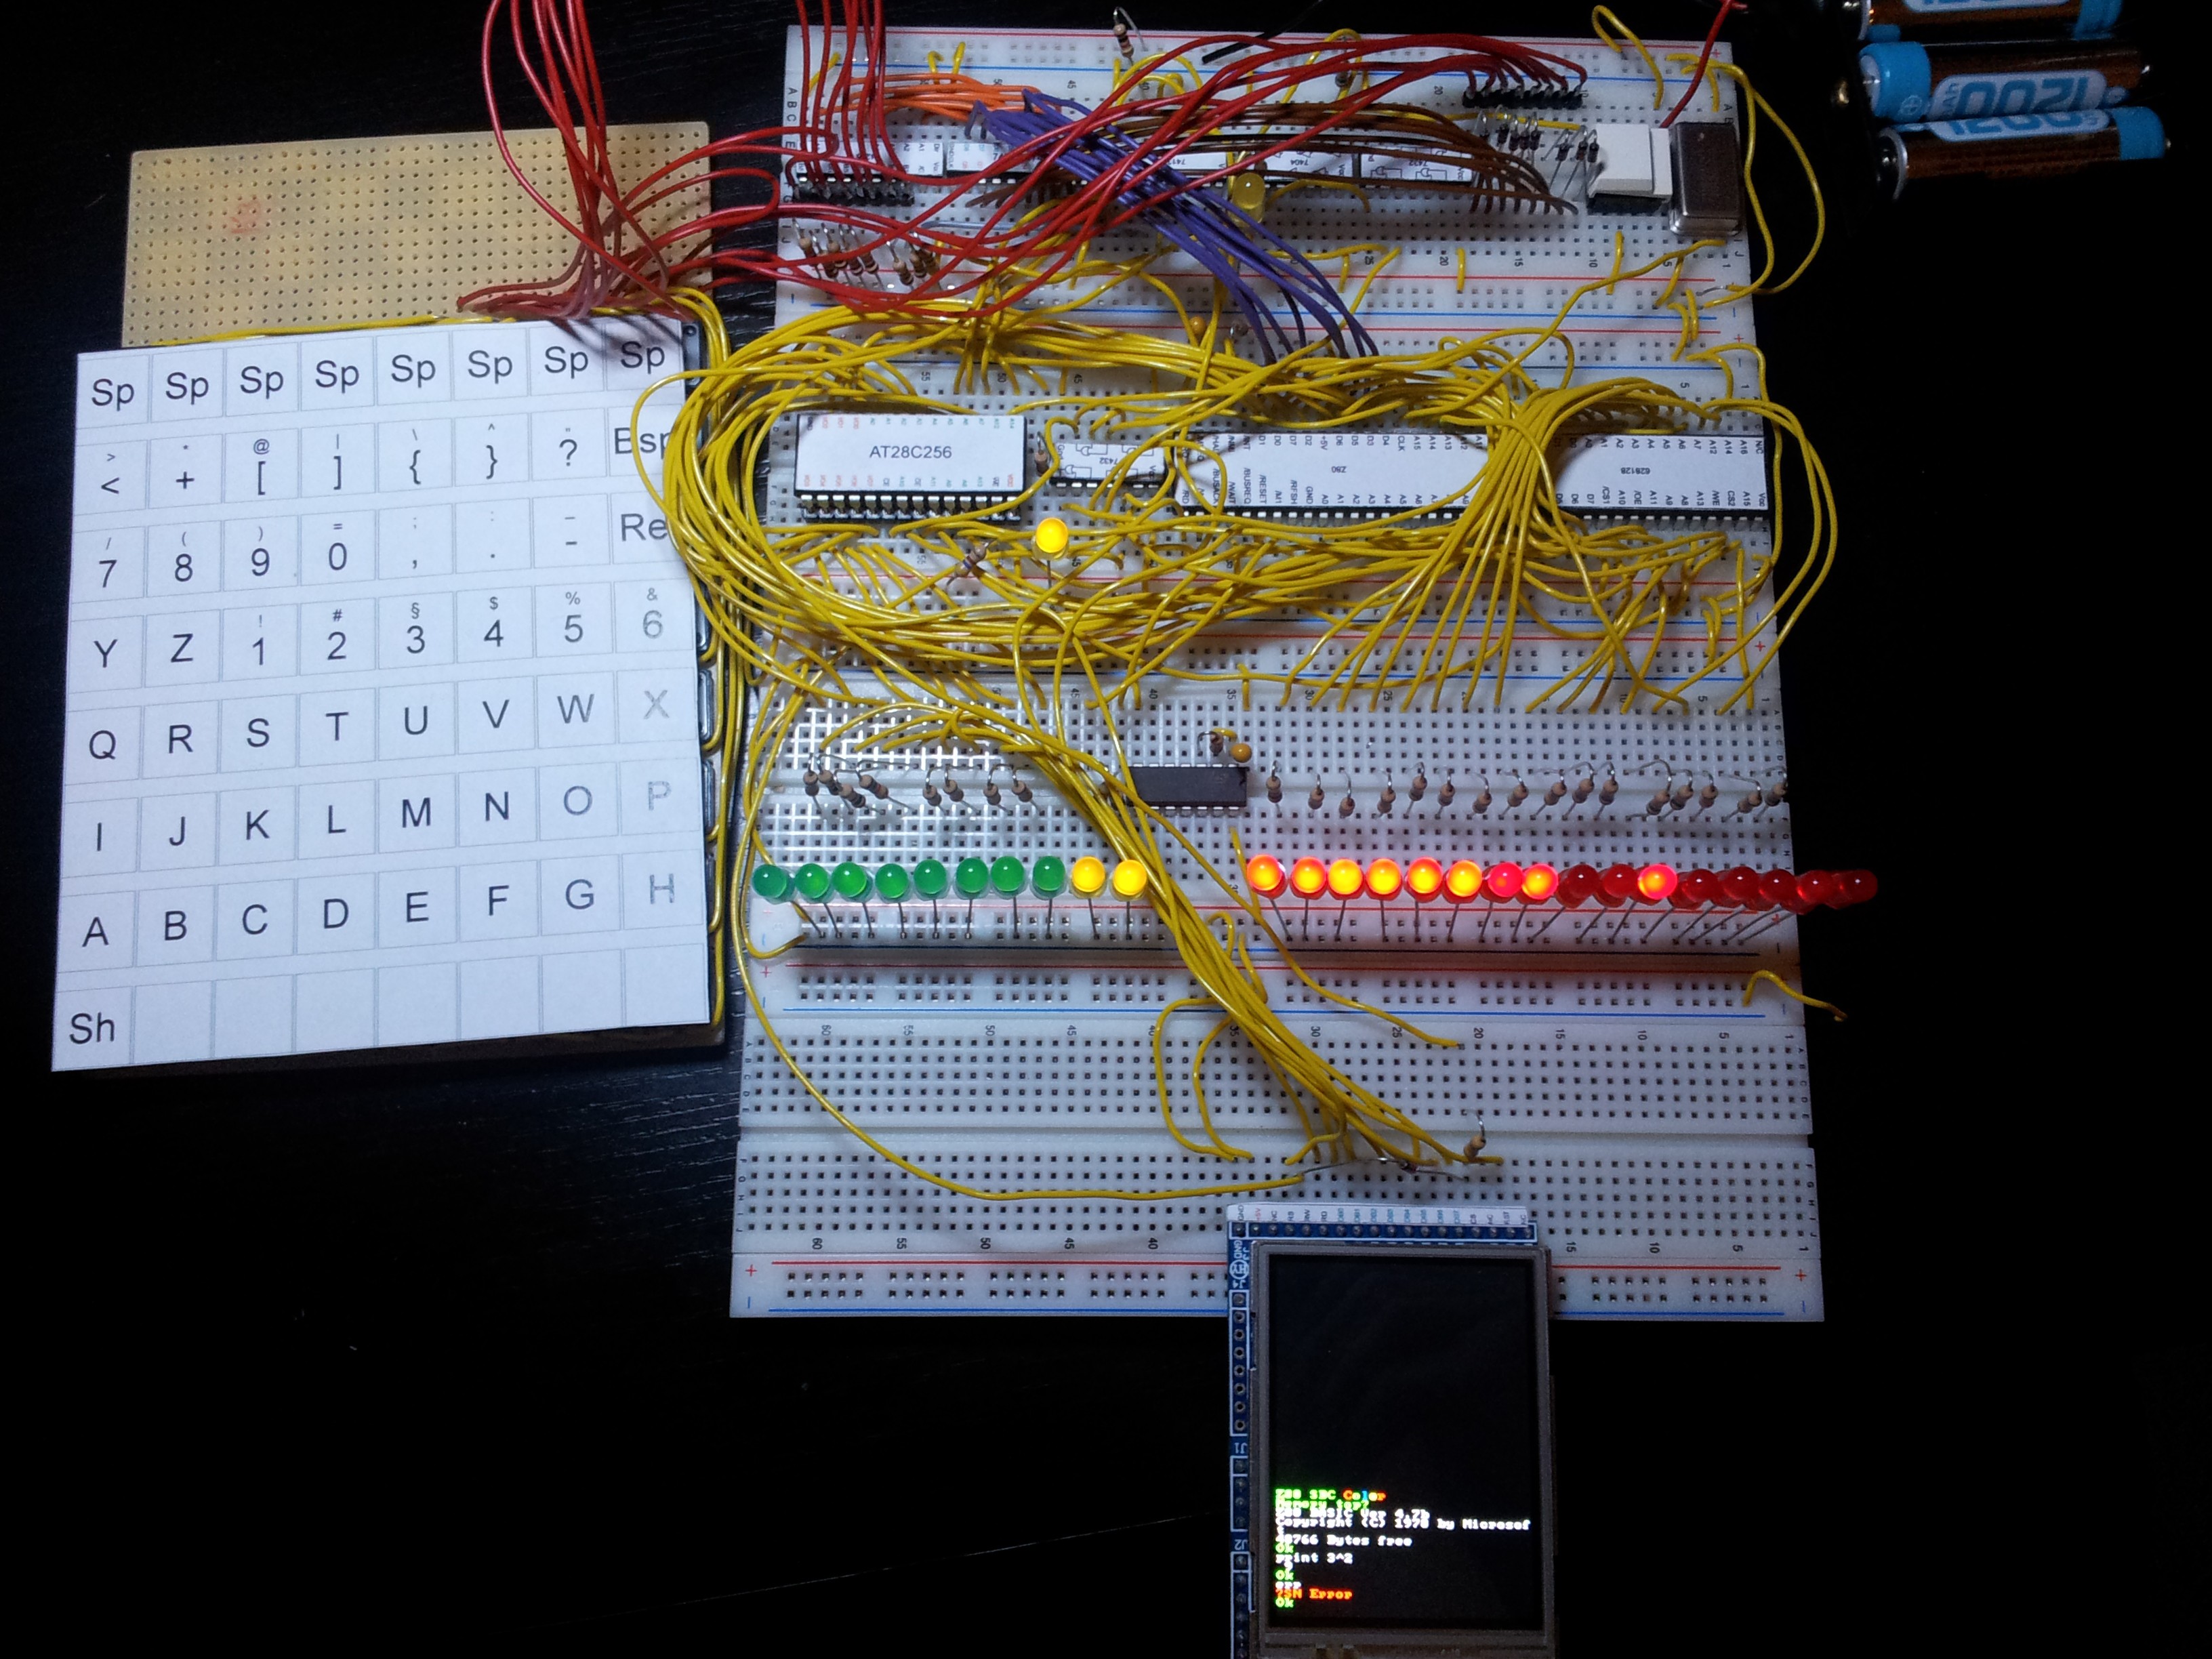
  • MCU: Z80 (Z8400B) at 7.3728 MHz, NMOS version for no real reason, CMOS would also be ok
  • RAM: 628128 SRAM (128k available with bank switching, see text)
  • ROM: AT28C64 EEPROM, AT28C256 possible (see text)
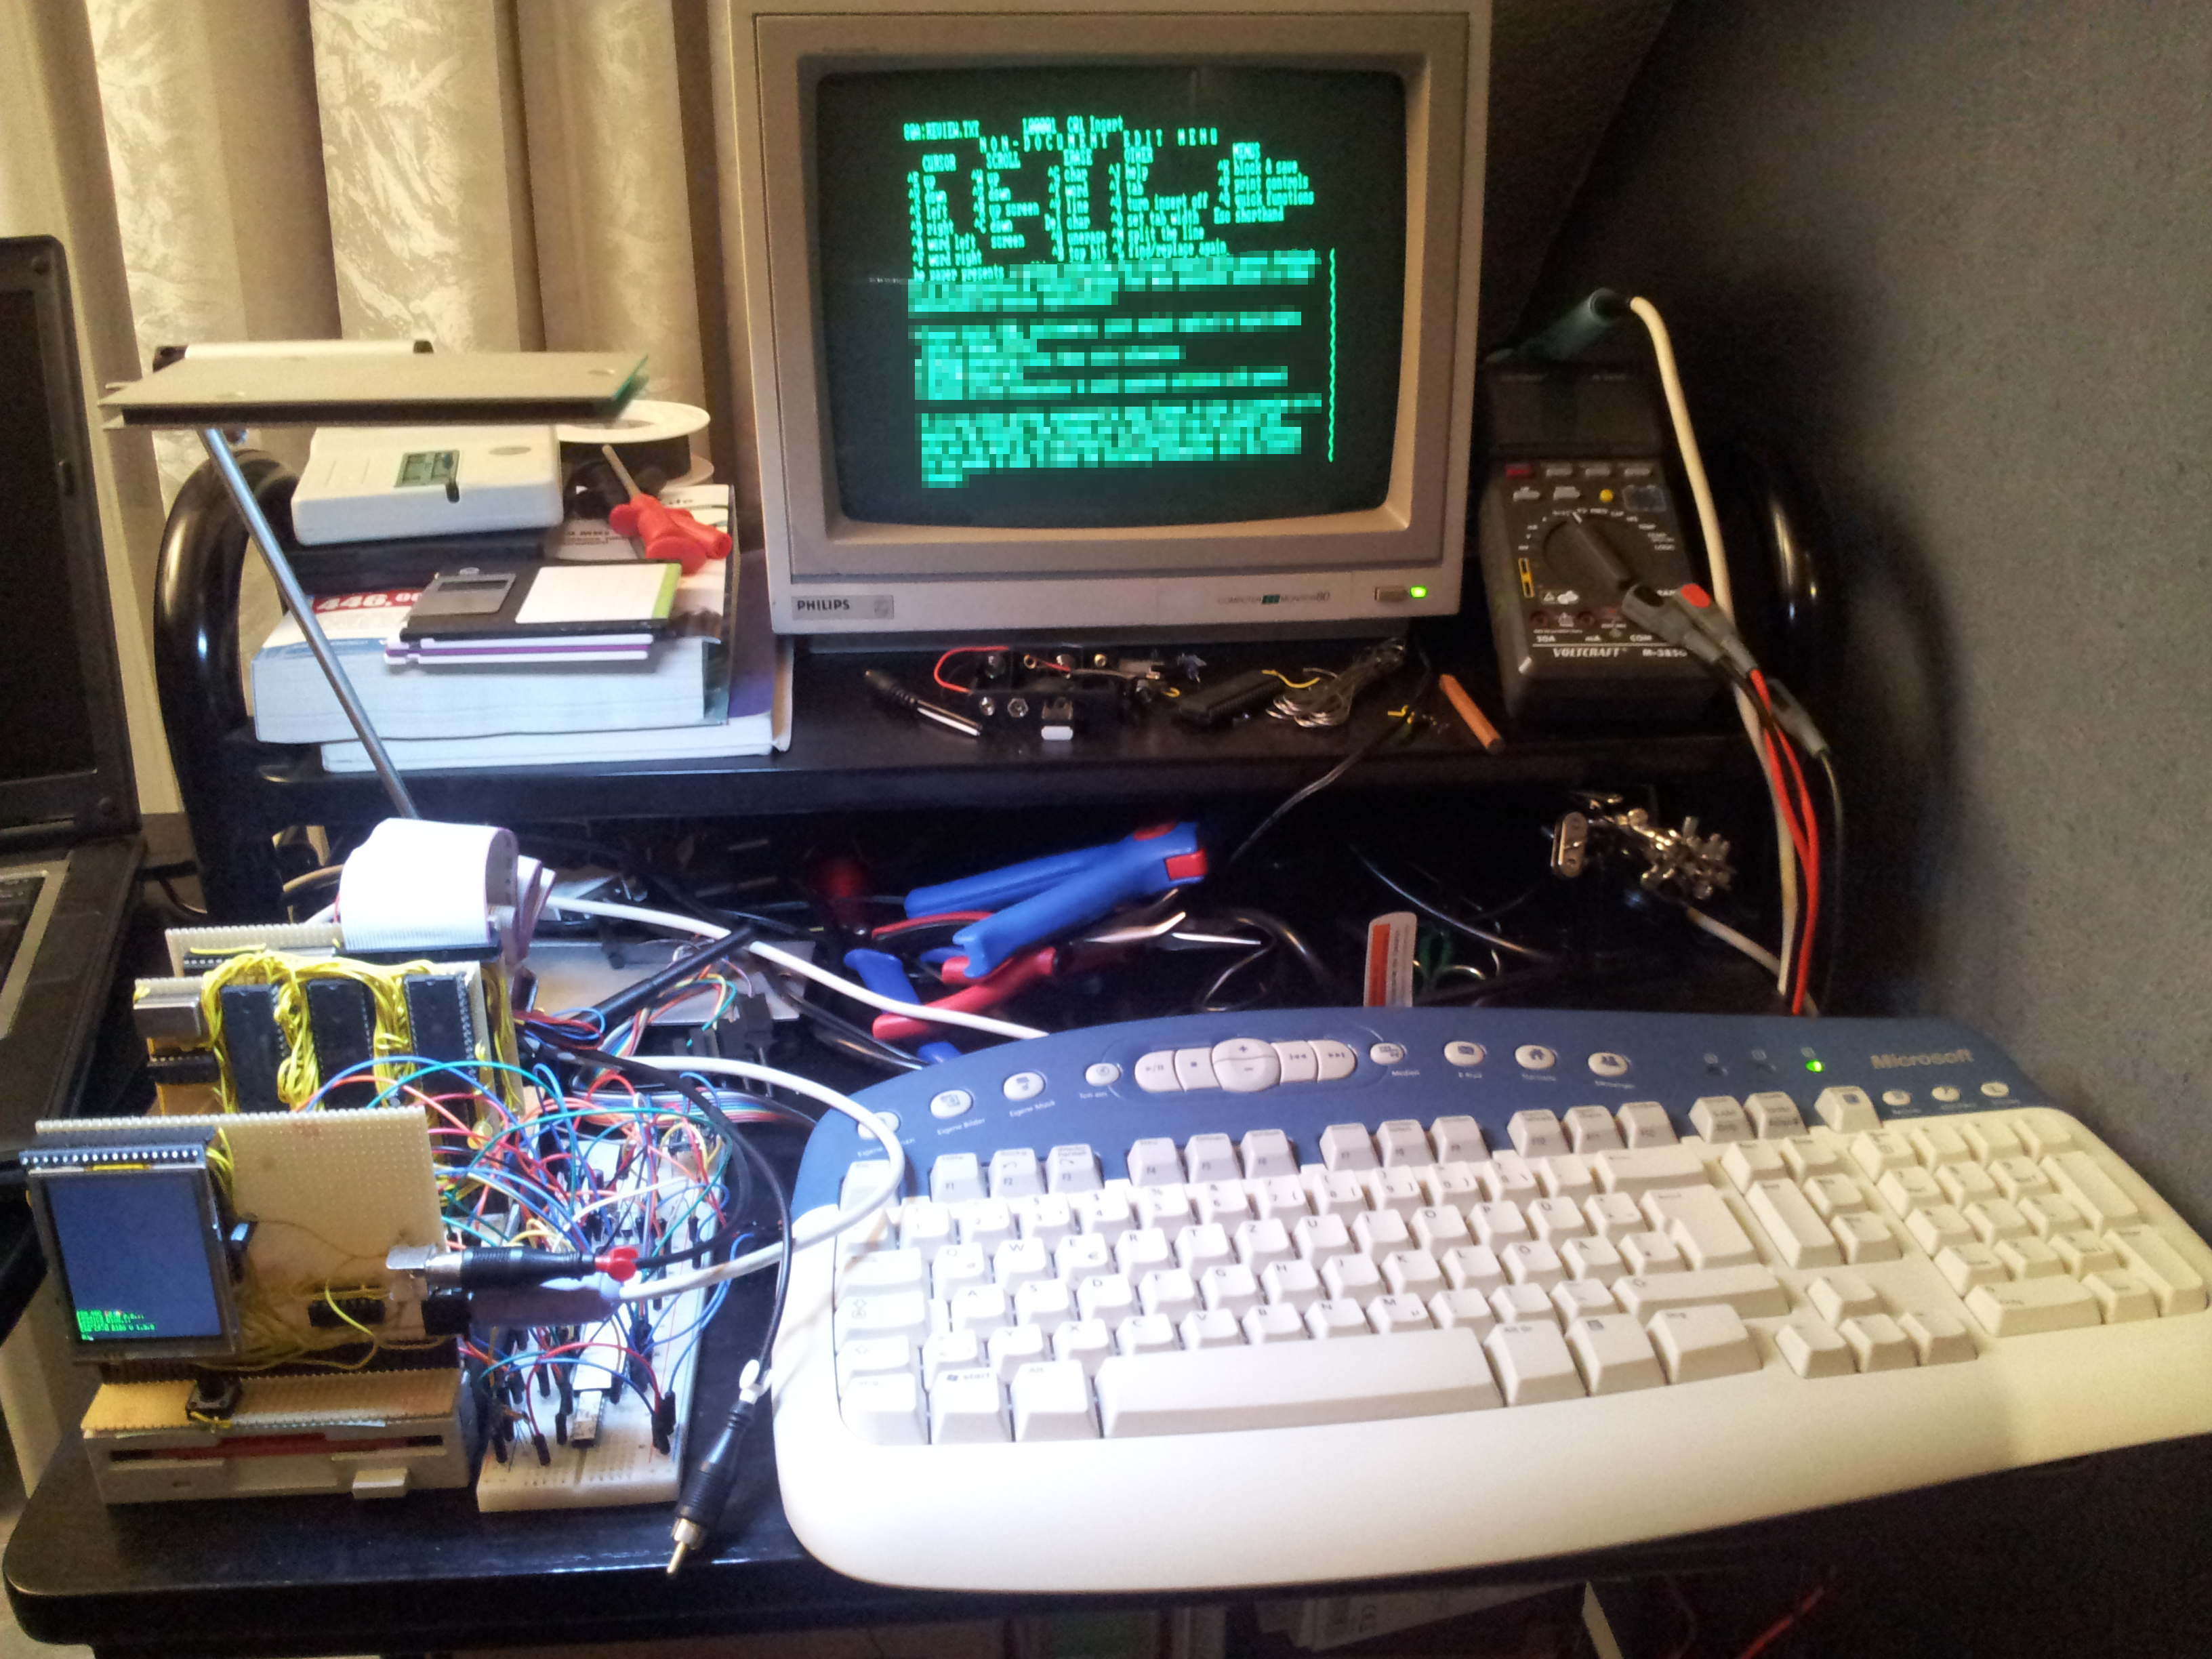
  • Internal display: 320×240 TFT with ILI9325 controller
  • External video (b/w), 80×25 characters
  • PS/2 Keyboard
  • 1.44 MB floppy disk, compatible with normal PCs
  • CP/M 2.2
Continue reading

Battery Driven Wifi Temperature Sensor

Some notes how to build a sensor that can be driven by 3 AA rechargeable battries for up to 1 year.

Overview

The web is full of examples how to build a temperature sensor. I want a sensor that is connected to my Wifi, can be driven by batteries for months and has an adequate resolution and precision.

This leads me to the following parts:

  • ESP-01
  • DHT 22
  • MCP1700
  • 3 AA rechargeable batteries, should be ‘ready-to-use’ (see below why)
Continue reading

End-to-End Encrypted Messenger

You always thought that end-to-end encryption in your favorite messenger like WhatsApp is a big deal? Or is it even not supported? Well, here is an example showing how “new” this feature is and it works for 15 years now. Using a Unix system (macOS, Linux etc.) it is a one-liner to send encrypted messages using the commands nc and openssl.

Continue reading

Wifi for 8 bit computer

Image of bread board with USR-WIFI232-T and 16C550 to connect it to Z80

Image of bread board with USR-WIFI232-T and 16C550 to connect it to Z80

In this article I want to present  the WiFi board I have developed for my Z80. It should be no problem to adapt it to different processors as I utilize a 16550 to connect the serial interface of the USR-WIFI232-T to the Z80 bus as you can see in the circuit.

Continue reading

Reactivating Old Z80 Computer

I have found an old Z80 computer which was used in production in the 80’s. Specs seems to be a video card (or let’s say, a text card with video output), a Z80 MCU, 5,25″ floppy disk drive and a keyboard interface.

Front of the Z80 microcomputer with floppy disk, keyboard connector (lower right), reset button (right of keyboard connector) and the power button.

Front of the Z80 microcomputer with floppy disk, keyboard connector (lower left), reset button (right of keyboard connector) and the power button.

Continue reading

Raspberry Pi’s GPIO Speed

We all know that the raspi is a small and neat device for controlling our LEDs but sometimes I miss the possibility to add hardware to a “real” bus like a real CPU has. Sure it is possible to imitate a bus what is called bit banging. This way you can control external hardware like LCDs or writing data to external SRAM faster than utilizing SPI. So we were interested how fast the Pi can really switch these pins.

Continue reading

Z80 Single Board Computer

This is another project building a single board computer with an Z80 MCU alongside some RAM and ROM. In contrast to other well known projects I want to utilise an EEPROM which is very easy to handle. I also want to build a computer that works autonomously including an user interface and does not need additional microcontroller or a PC since both would be more powerful than the actual processor.

It is inspired by the SBC project by Grant Searle and therefore runs his modified version of Microsoft BASIC for the NASCOM computer. I further modified it for this SBC.

Before I explain the details, here is the result.

Overview

Z80 SBC overview

Z80 SBC overview

The specs are:

  • MCU: Z80 in CMOS (Z84C006) at 7.3728 MHz
  • RAM: 628128 SRAM
  • ROM: AT28C256 EEPROM
  • Display: 320×240 TFT with ILI9325 controller
  • Keyboard with 64 keys
  • Power consumption: 190 mA at 5V
  • OS: NASCOM BASIC 4.7b

Continue reading